January 28 2020

In the previous article in this series, I was able to successfully print a Surakari warship with my Prusa SL1, but I had to crank up the support settings. This left the bottom of the miniature visibly scarred.

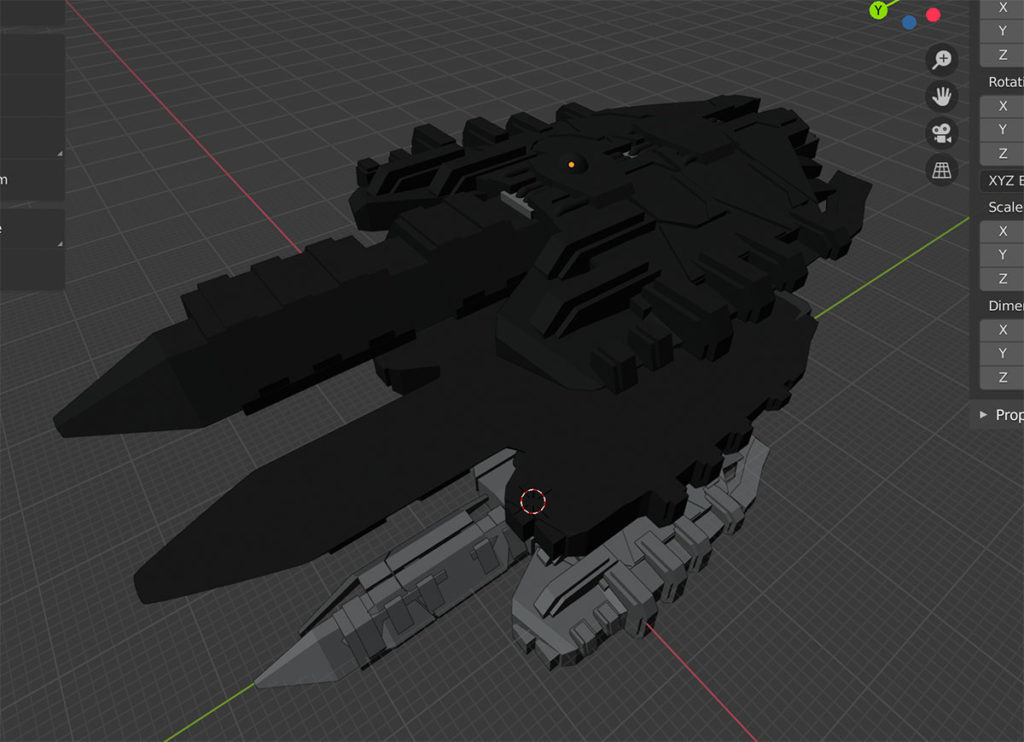
One thought was to split the miniature in half and print the top and bottom halves as independent parts. Since Kalidasia warships are designed to be cast in two part molds, each one has a line on which the miniature can be split into printable halves. The first challenge is that while the model can be split in two, the 3D model was not built with this in mind. I had to make quite a few adjustments to the Blender model to allow for this setup.

Next, by default, Prusa Slicer likes to support the miniature off the base. This is a setting that can be overridden, but the software strongly recommends it. With the models setup, I printed them out.
One advantage with this style is that it reduces the overall height of the print. Given how these LCD Masking printers work, This means a significant reduction in the print time and less wear on the consumable parts of the printer. However, none of that matters if the print does not work.

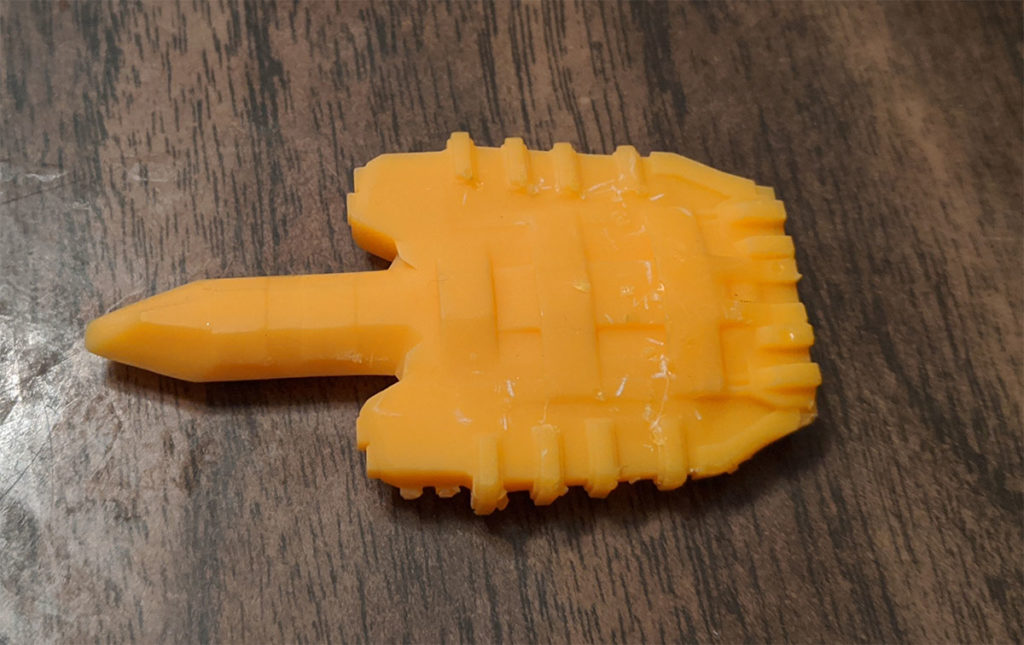
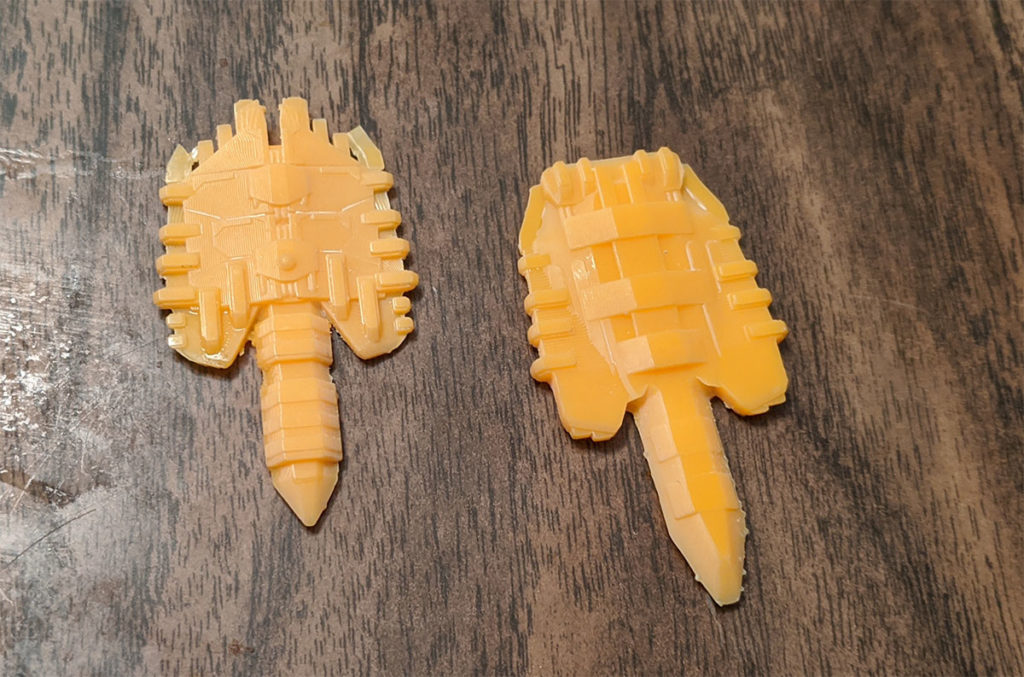
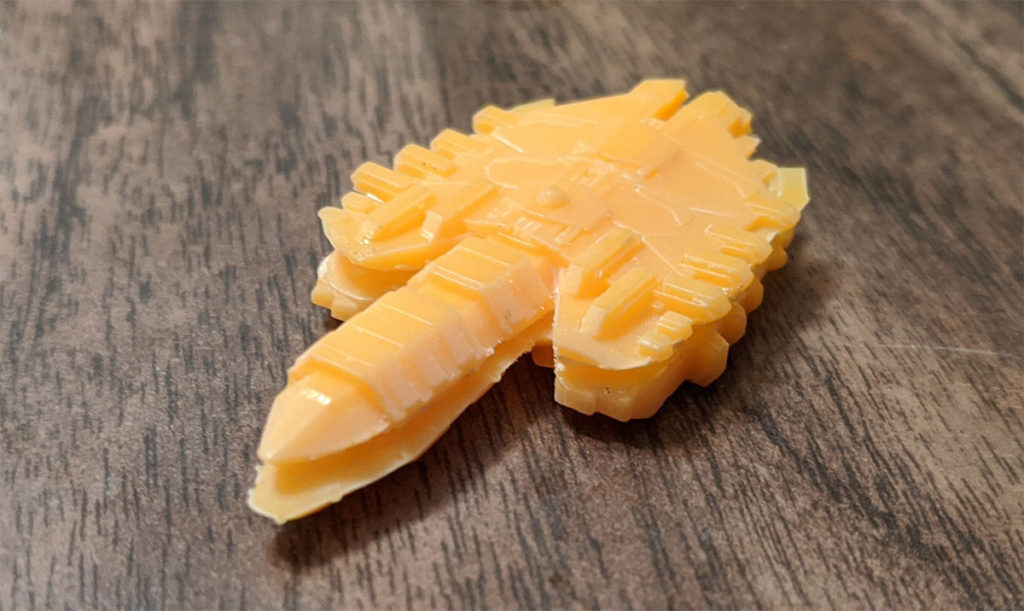
With this process, the print did complete successfully. Both halves of the warship cured as expected and since the bottom of each piece did not require any detail, plenty of strong supports could be used to prevent the piece from detaching from supports. However, curing plastic, no matter which method is used, has a nasty tendency to curl up. As plastic solidifies, forces can pull on parts of the model at different rates. This can cause the edges of a model to deform slightly. This is probably most famous with FFF 3D printers and bed adhesion. As layers are added to a FFF print, the cooling plastic can cause the corners of a print to peel off the print bed. This results in the bottom of the print to not be flat.

Something similar happened here. Neither half of the miniature had a flat base. This means it was not possible to glue the two halves together in a way which looked decent. Well, its back to figuring out how to print the miniature in one piece. More on that in the third part of this series.